
In this project we will explore the land of image filters! We can create derivative, gradient, low pass, and high pass filters to augment images in interesting ways. Using these filters we can take bands of frequencies to create hybrid images and blended images, showing off some really cool effects.
If we want to take derivatives of images the biggest challenge is how do we deal with discrete values? The answer is to use a finite derivative! we take the pixel value we are on and compute the difference of the pixel in front of it. In vector form we get that d/dx = [-1, 1], we can then use convolutions to take the derivative of a whole image. The same goes for the y-axis but instead of being a row we get a colum vector d/dy = [-1, 1]^T. Using these two partial derivatives we can then compute the full gradient of an image, sqrt((d/dx)^2 +(d/dy)^2).

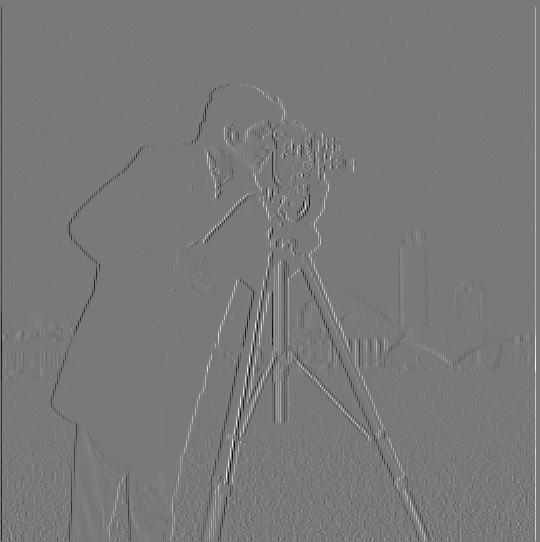
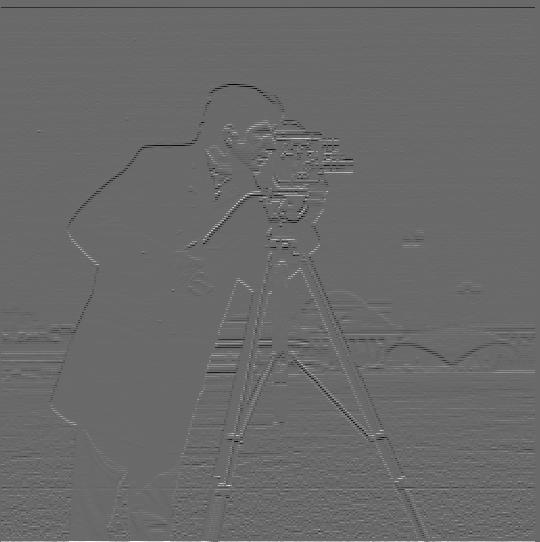
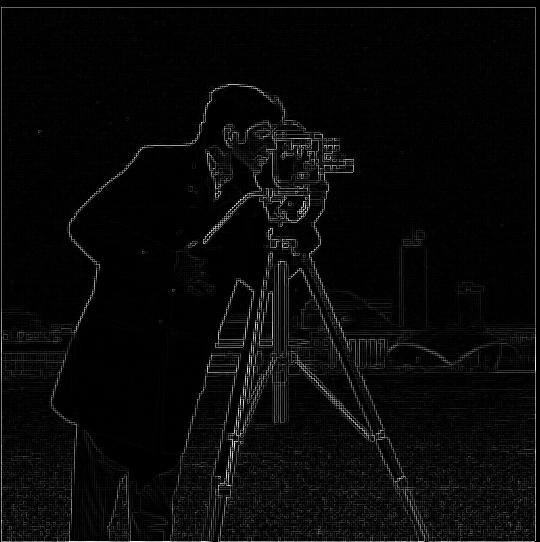
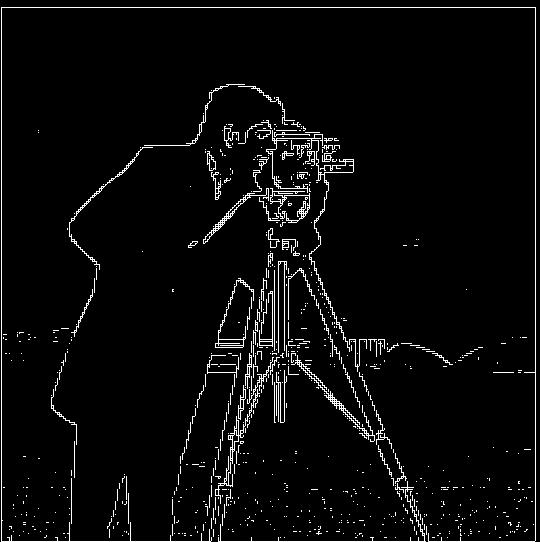
The binarized gradient has a lot of noise, so to get rid of this we can use a low pass filter to get rid of this noise. Using a 2d gaussian kernel as our low pass filter we can see the effect it has on our derivatives.
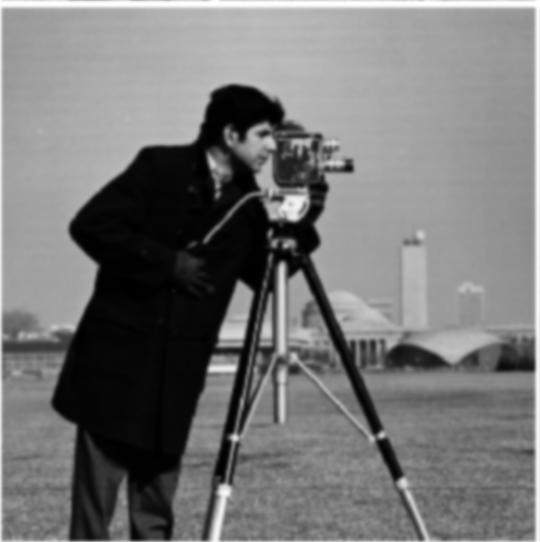
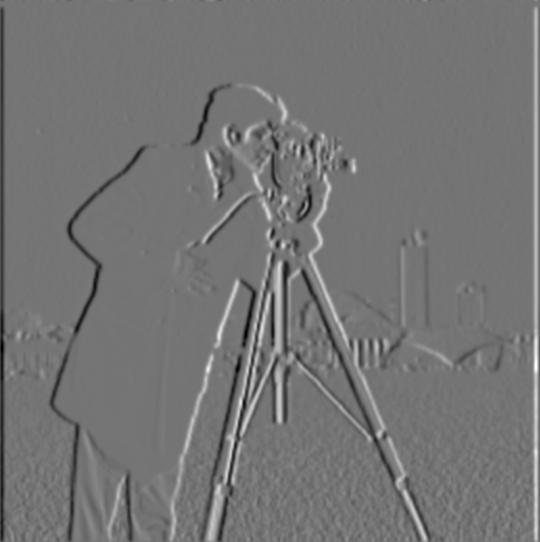
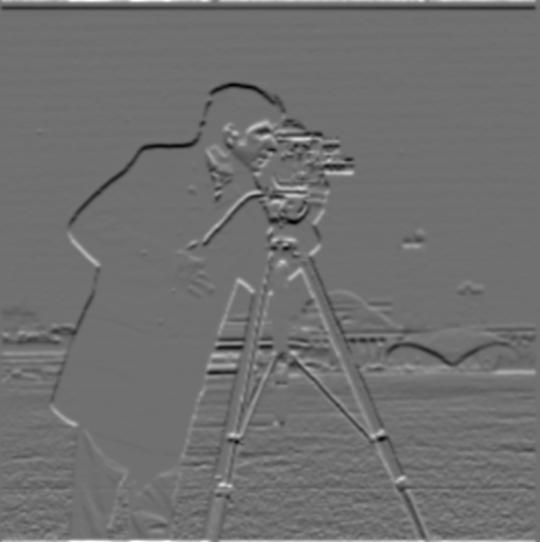
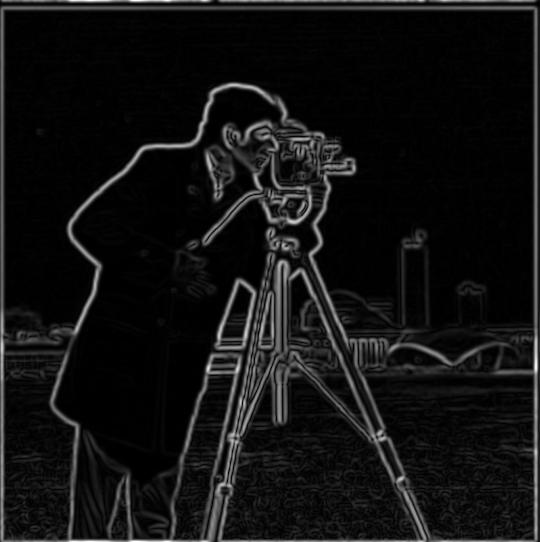
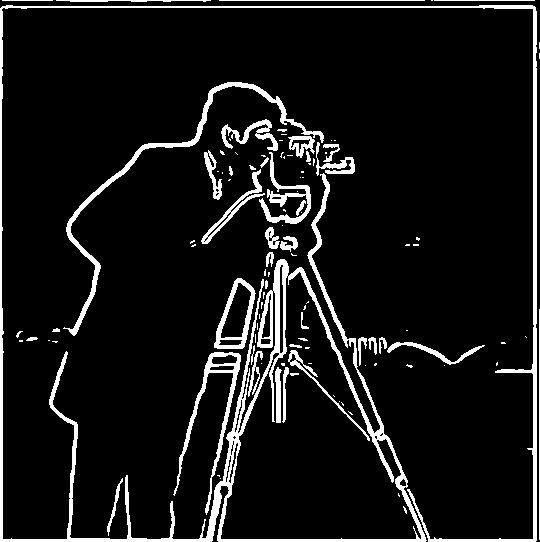
Comparing this with the original gradient, we can see our lines become thicker and more pronounced with less noise, particularly around his legs. To be slighly more efficient you can convolve the derivative filers with the gaussian filter to create a single filter that has the same effect.

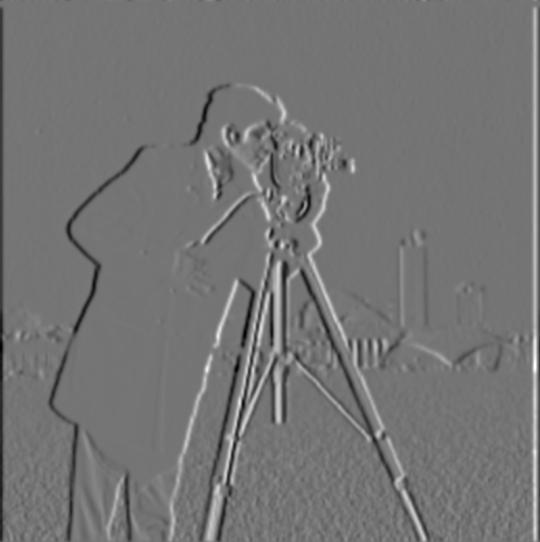
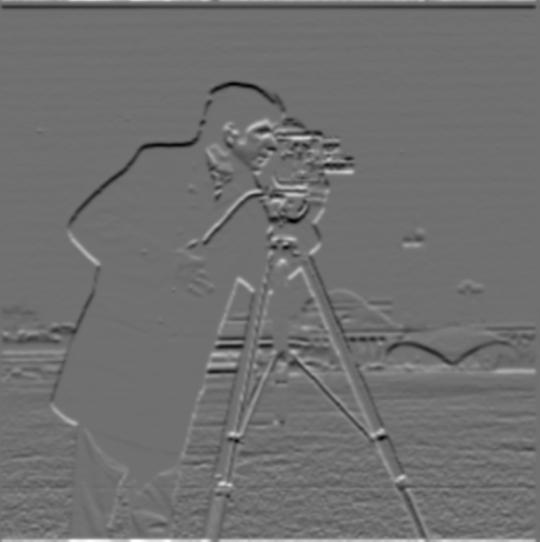
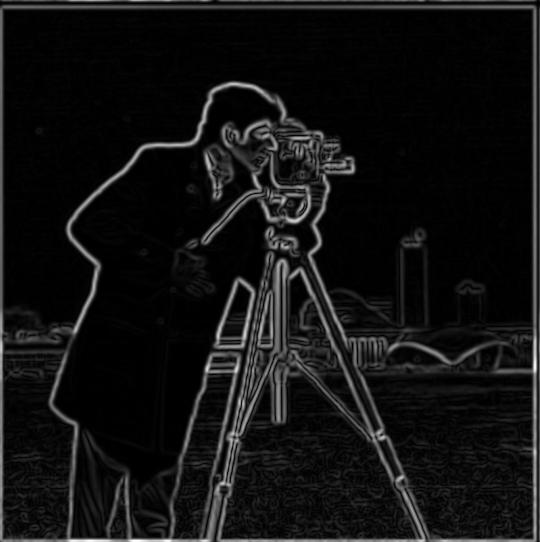
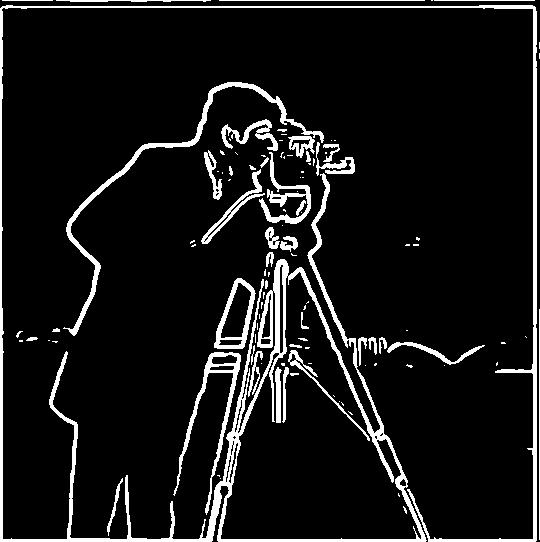
Comparing the all in one DoG filter with the two step process, we can see they are exactly the same.


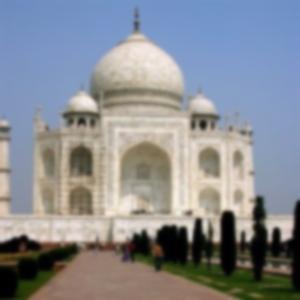
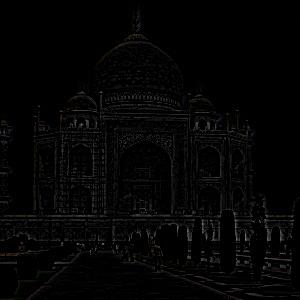
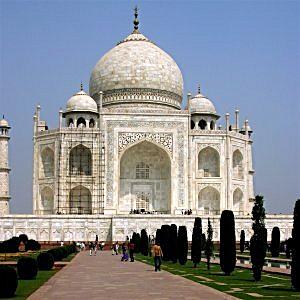
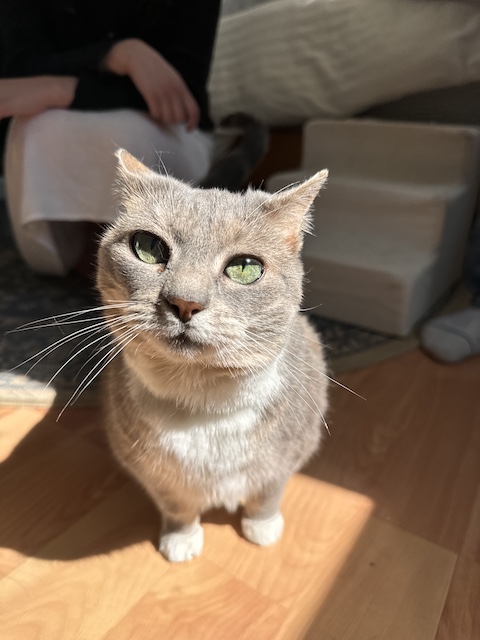
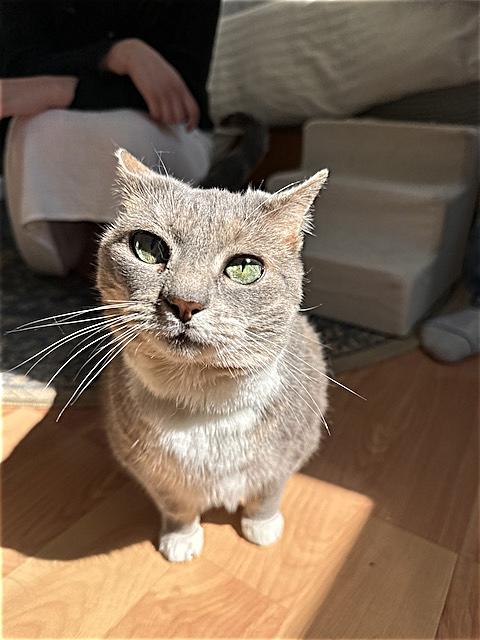
Now with our low pass filter we can sharpen images! We achieve this by using a low pass filter on an image, subtracting the low passed image from the original to just get the higher frequencies of an image. With these details we can add it back onto the original image with a scaling factor (alpha) to highlight the details of our image, making it sharper. Below are two examples, the Taj Mahal and my friends 15 year old cat reiny.

We can also try to unblur a blurry image. To do this I will take a clear image, blur it, then sharpen the blurred image. Below is a picture of me and my friends at the studio ghibli museum which will demonstrate this procedure.
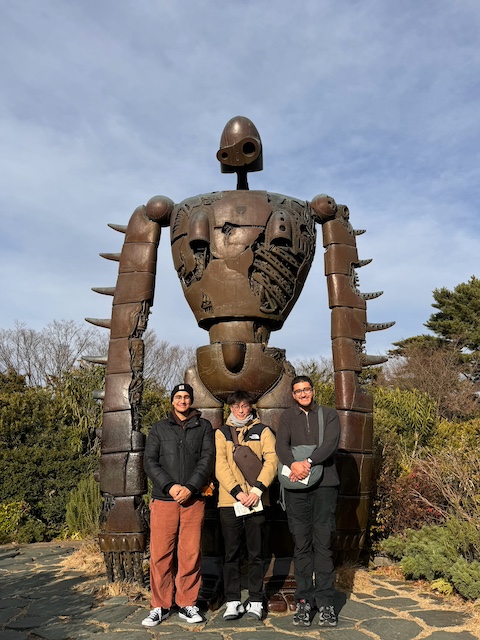
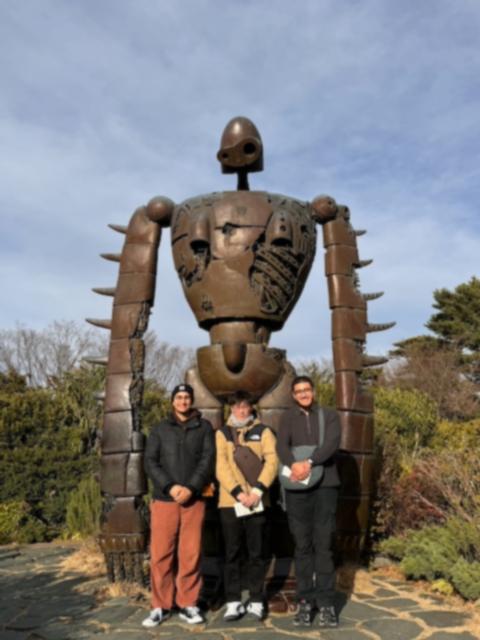
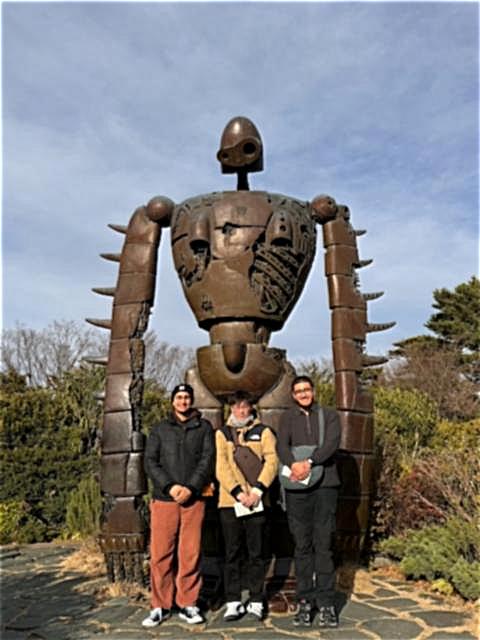
While the sharpening does help some of the less detailed areas of the statue, things like faces are left mangled and strange.
To create hybrid images, we can take the low frequencies of one image and average them together with the high frequencies of another image. To see both images, look up close to see the high passed image and from afar (or just squint) to see the low passed image. We create the high and low passed images using the technique from our image sharpening section. To have the best effect we first align two parts of the image then make a hybrid image.


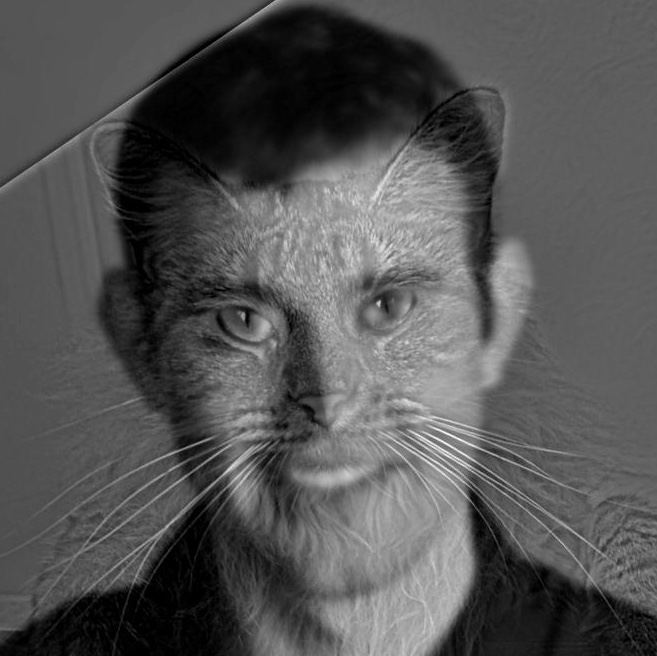
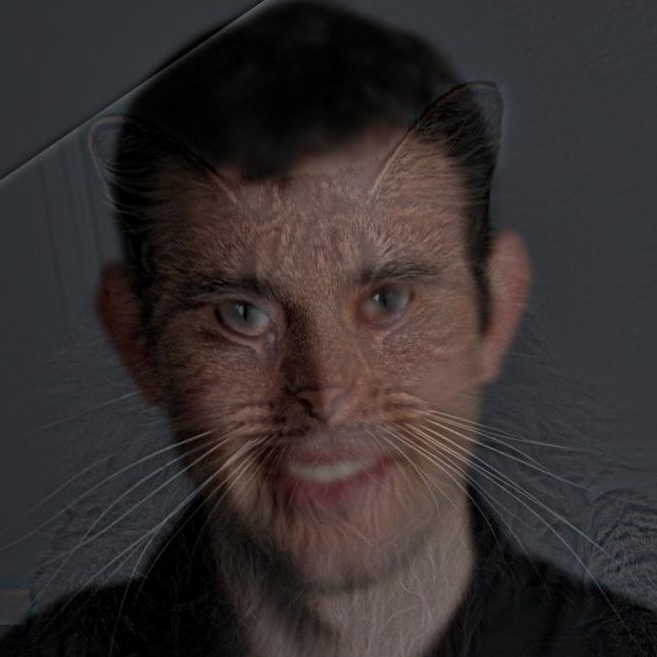
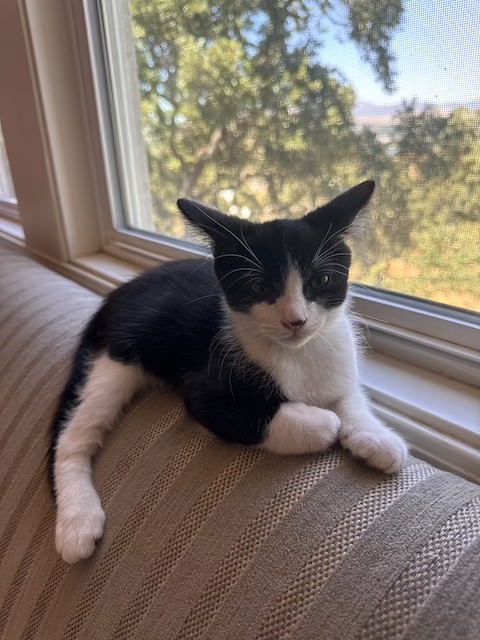

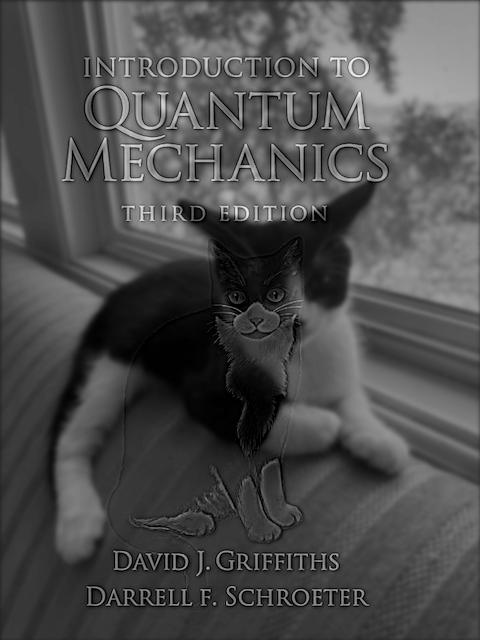
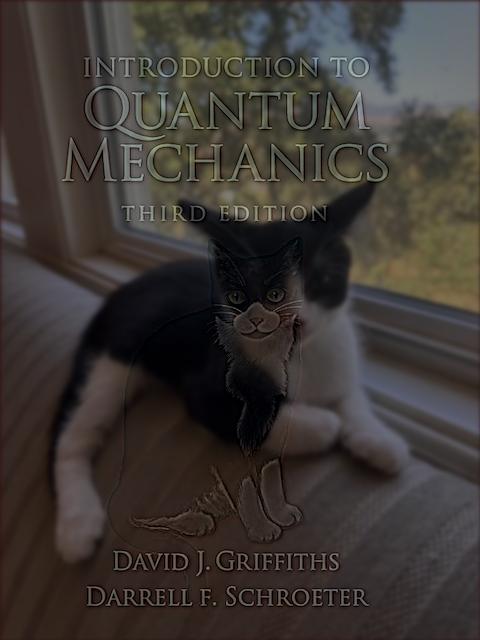
This didnt acheive the effect that I wanted since you can see ollie too clearly, I will revisit them later however.
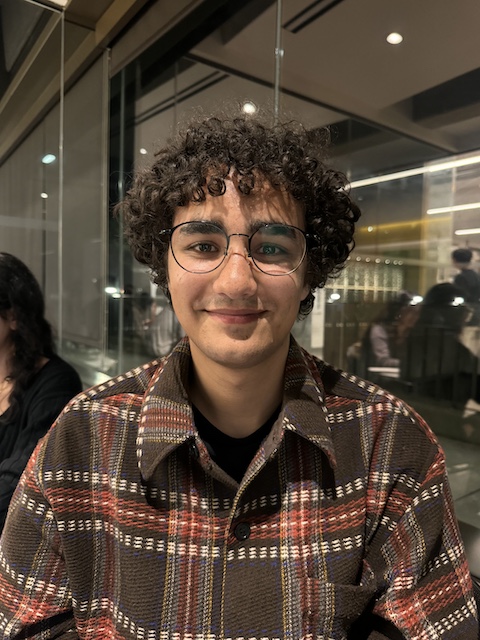
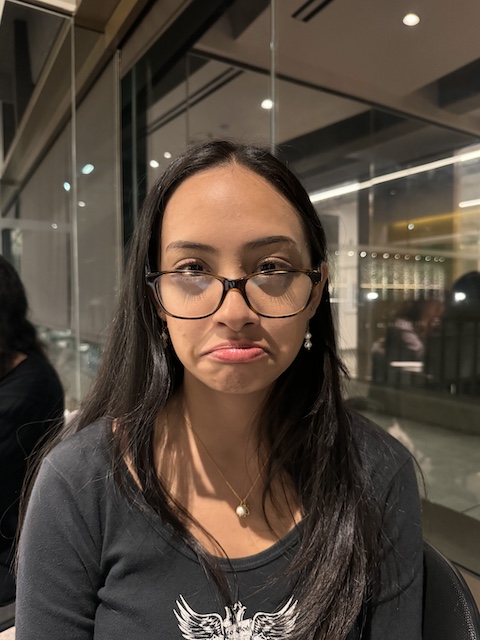
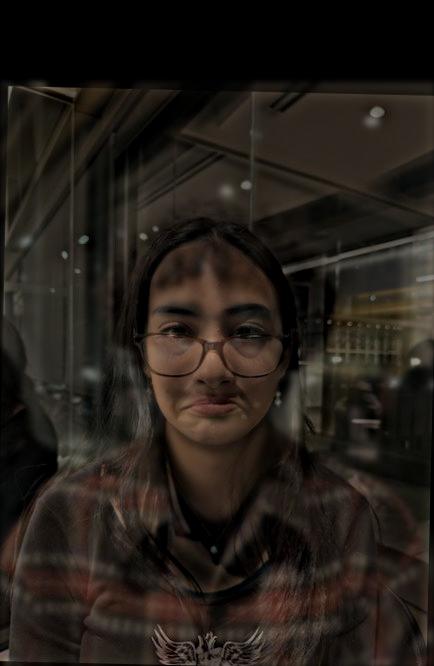
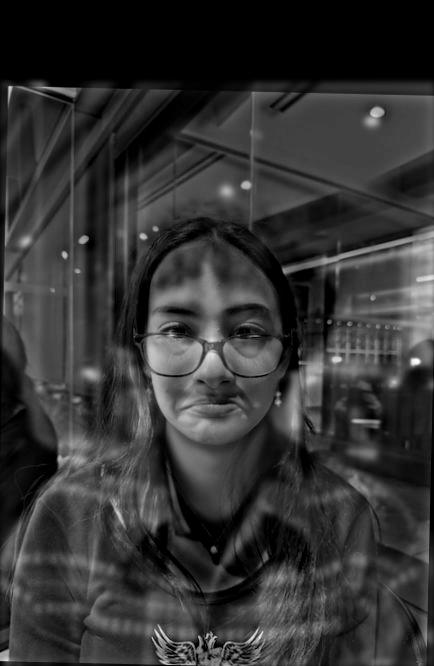
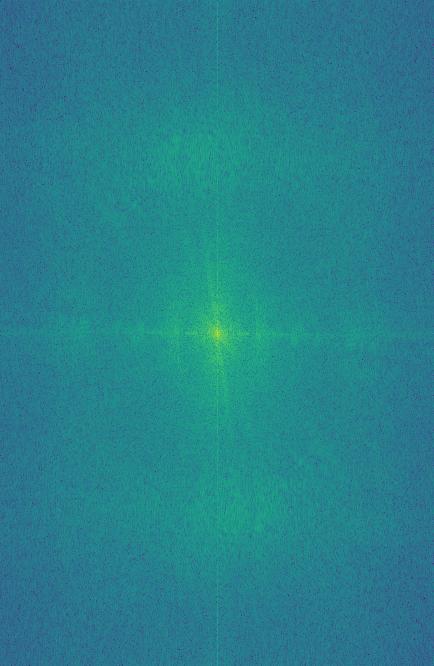
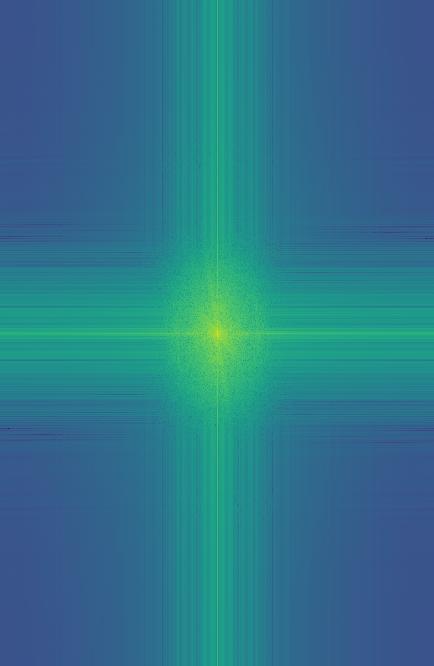
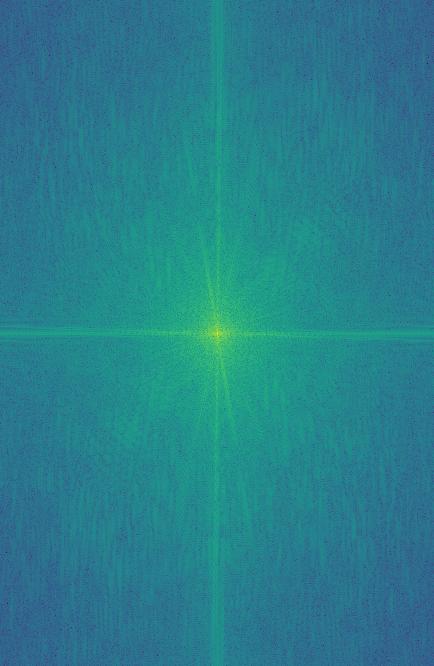
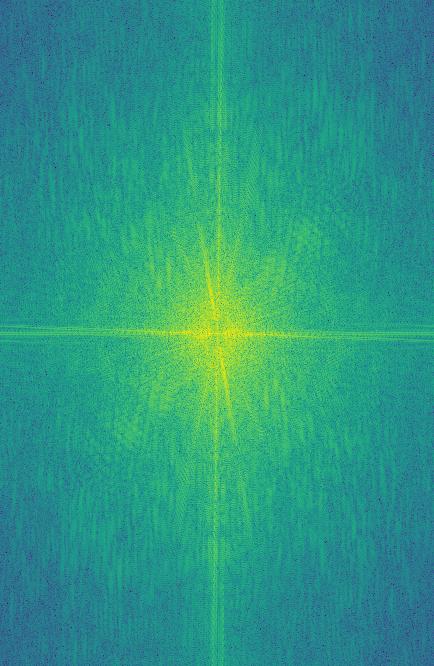
I want to take a second to look at the fourier transforms of each step made along the way for this hybrid image.
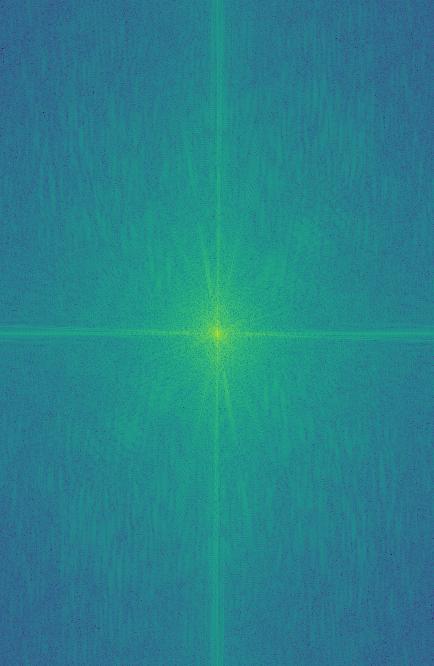
Gaussian stacks take an image and for every level use a gaussian filter on the image in the previous layer. Importantly the sizes of the images stays the same for all layers of the stack. For a Laplacian pyramid you take the gaussian stack and at layer i of the stack do gaussian[i] - gaussian[i+1], at the final layer just use the final layer of the gaussian stack. An important property of the laplacian stack is when you add up all the layers you get the original image back. Below are the 4 layers of a laplacian stack which has been normalized to be easier to see.

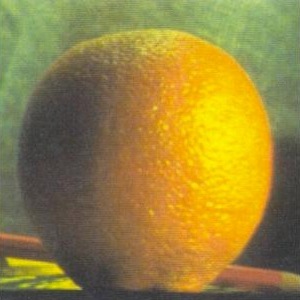
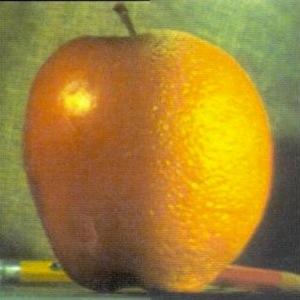
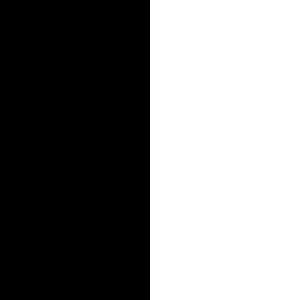
In order to create a smooth blend of two images we need to split each image up into certain frequencies. We use an Laplacian stack to acheive this. Take 2 images, im1 and im2, we create a laplacian stack lap_im1 and lap_im2. We also take some mask of the reigon we want to blend and create a gaussian stack gaus_mask. We can then make a blended image by using the following equation, (1-gaus_mask) * lap_im1 + gaus_mask * lap_im2. This smoothly blends our two images at each frequency we have in our laplacian stacks.

