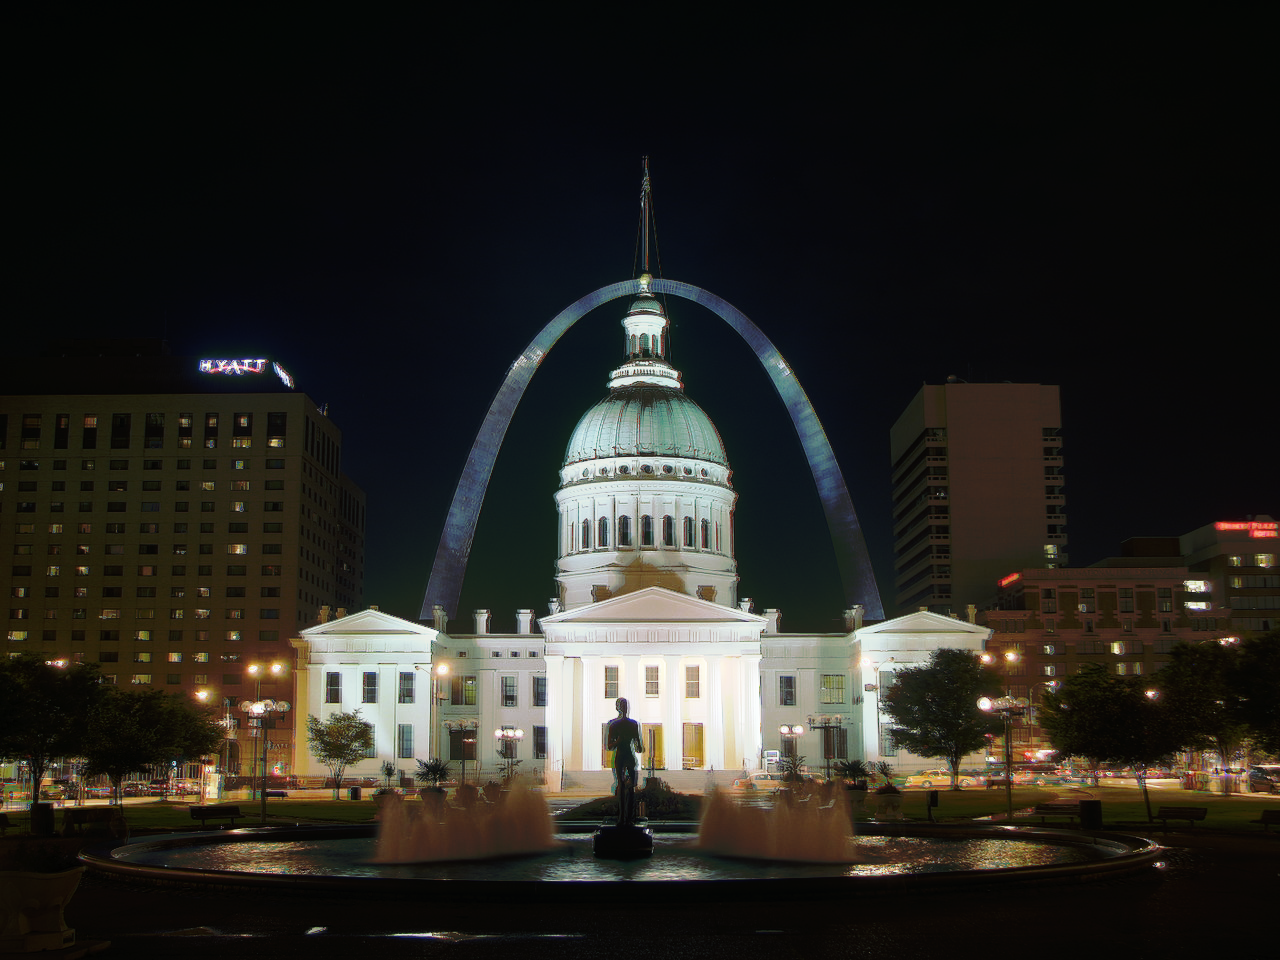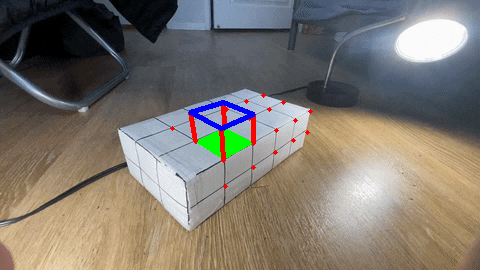
I used the video created by a past student as the base of my AR. I set (0,0,0) of the world coordinates to the corner of the box, and manually mapped each intersection of squares to the 2d pixel coordinates. For the 3d world coordinates, I just treat each square as a unit square, thus the base of the world coordinates. (Credit for video to https://inst.eecs.berkeley.edu/~cs194-26/sp20/upload/files/projFinalAssigned/cs194-26-ahe/)

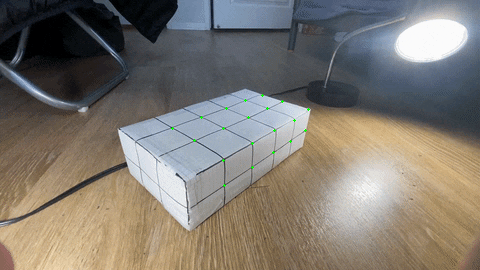
I used cv2's calcOpticalFlowPyrLK, since the suggested function was not avalible on my version of cv2. I used a 15x15 area to search for where the keypoint went, and for each new frame I use the previous frames tracked point position to find the newest position in the image. Below is a video of the tracked points on the box.
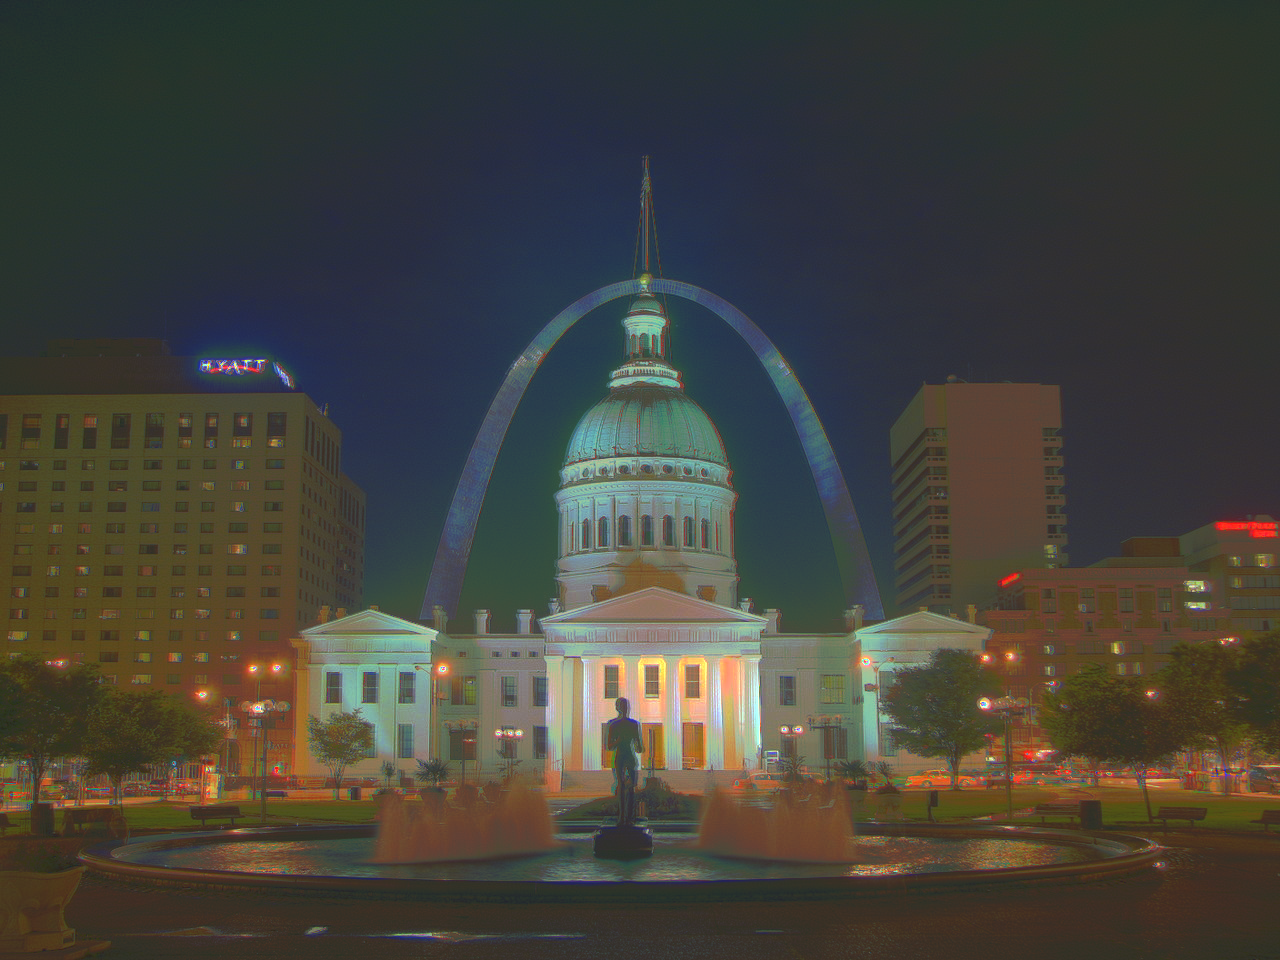
Now I define in the world coordinates where I want my cube to be, and at each frame compute the matrix with the world coordinates and that frames tracked keypoint locations. Then I multiply these coordinates to get the 2d image location of the cube to draw.
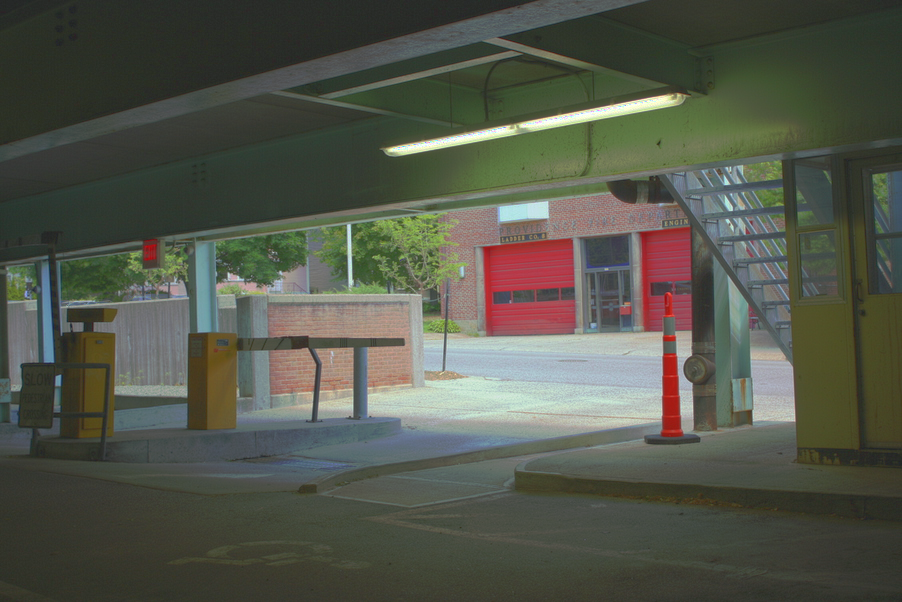
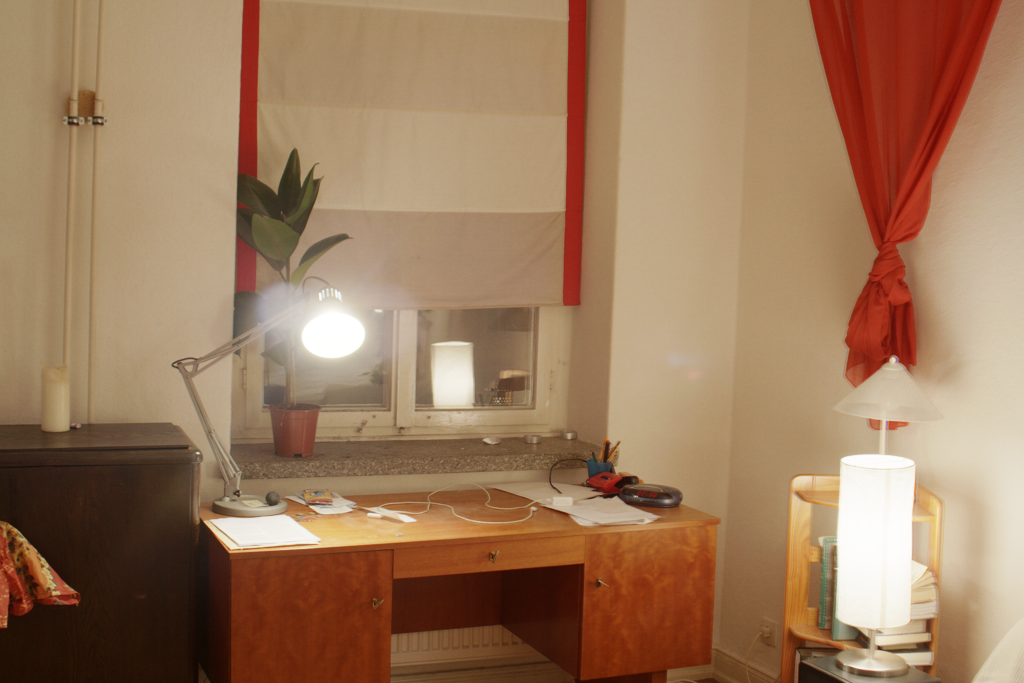
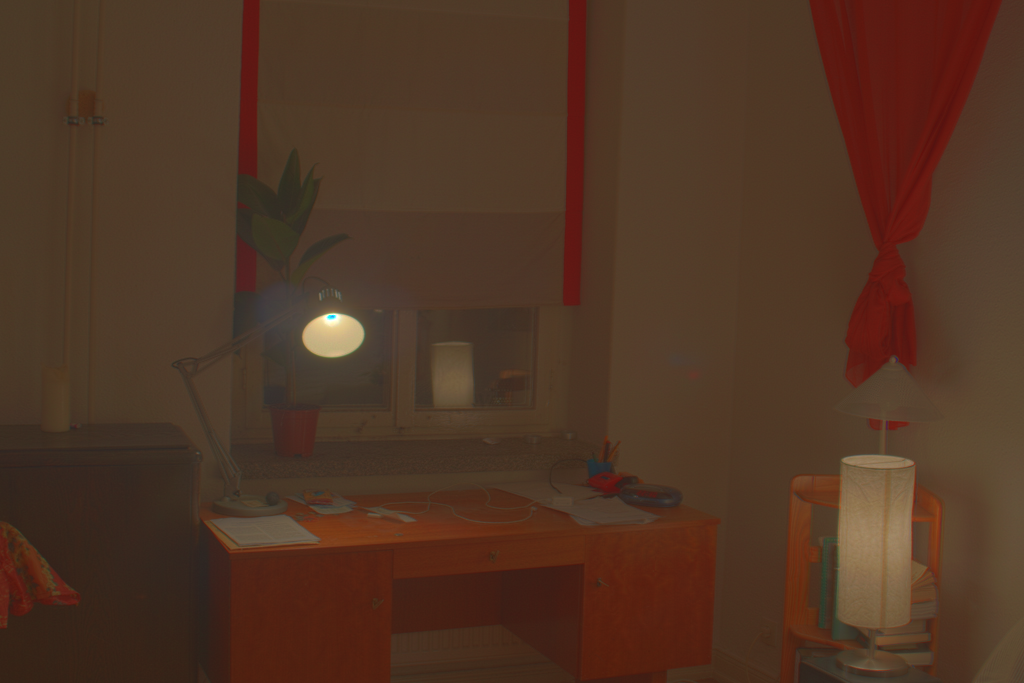
A big problem when someone takes a photo is lighting, if you dont have the correct lighting (its too much contrast or dark or bright) it can make certain images look terrible. A fix for this is high dynamic range. In short this will make us be able to see the darkest and lightest parts of our image easily.
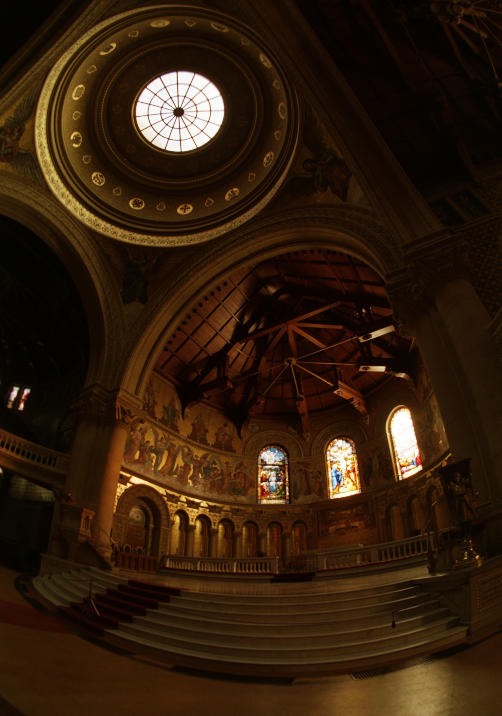
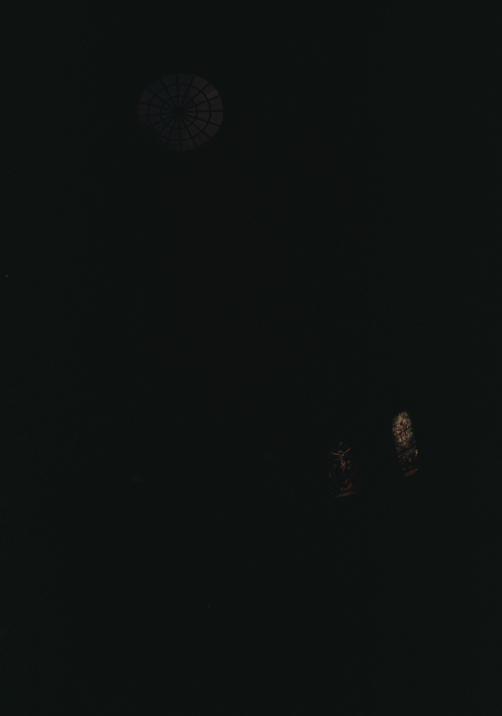
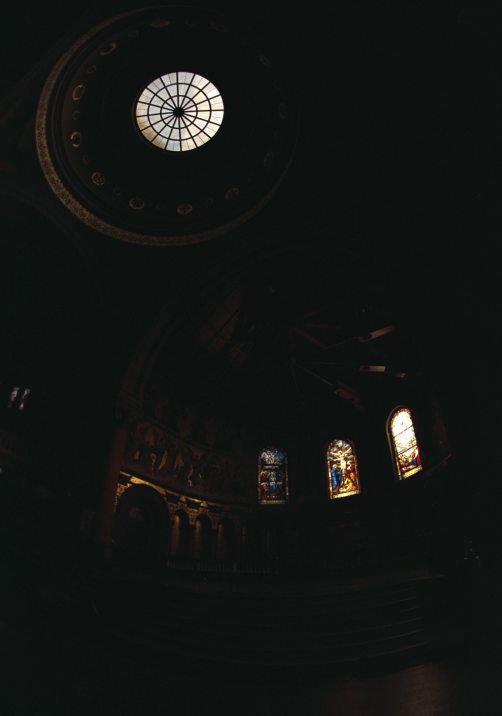
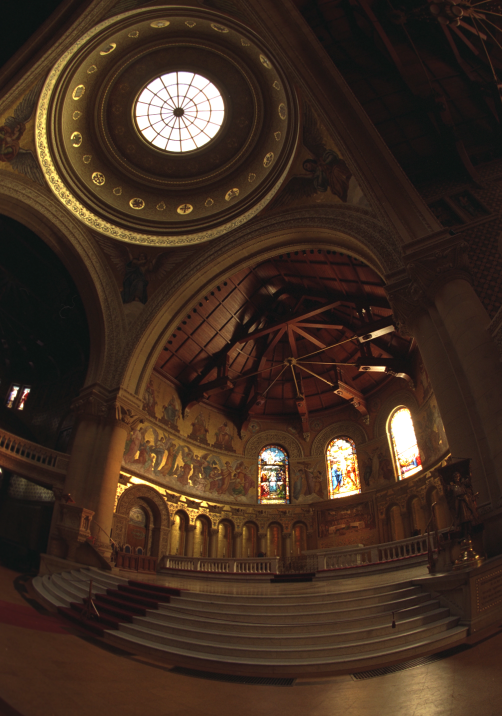
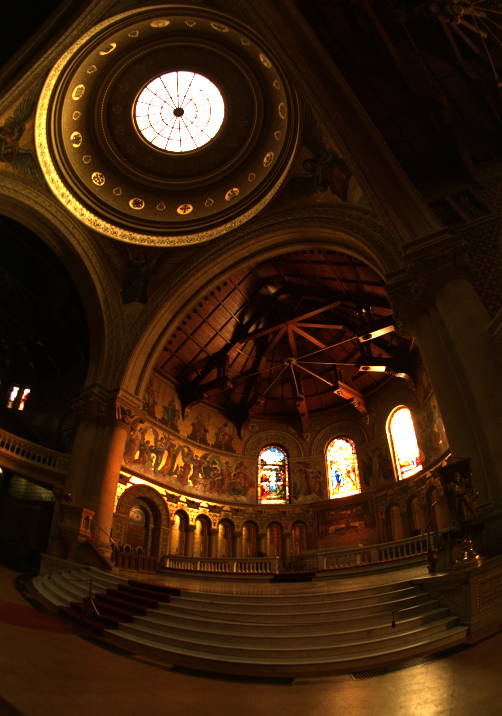
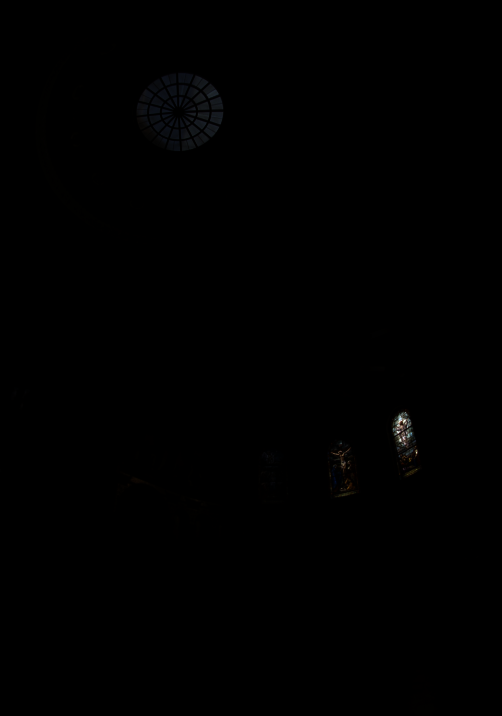
This involves calculating the response function g, and the log of each pixels irradiance. Since each image was captured at several different exposures, we take the ith pixel from the jth image to estimate these two values using least squares. Below is a selection of images at different shutter speeds.
Also graphed below is the log of exposure and the corresponding pixel values for each color channel. We see how as exposure increases so does the pixel brightness, which makes sense.
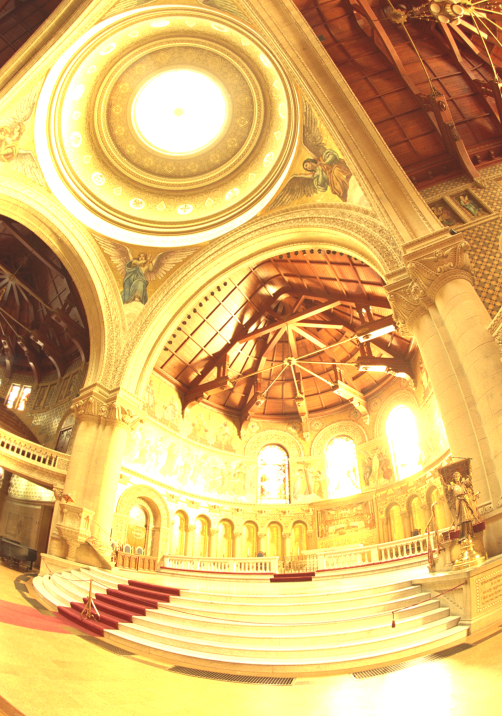
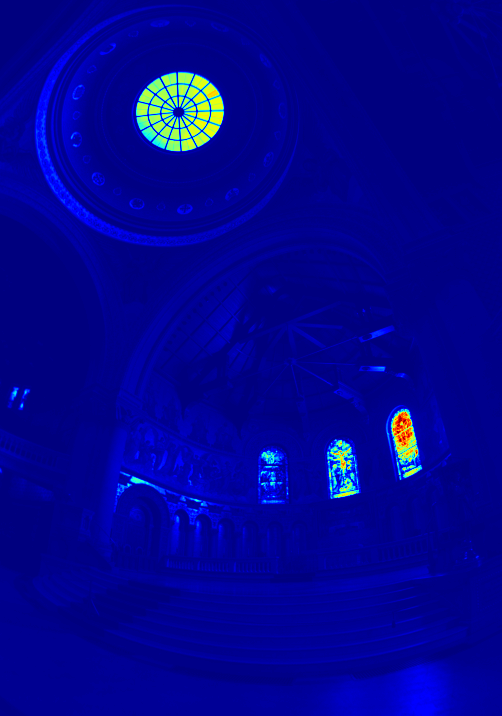
Next we need to construct the HDR image, and once we have g, it is simple. One note, in our calculation we use a weighting function so we dont have pixels become near zero or near 255, we want everything to stay within a good range. Below is an averaged HDR image as well as a per channel HDR image.
Now we can make our image look even better by squeezing the dyamic range of the image so we can see the brights and the darks much better. The first attempt at this will be a global scaling which just scales the values to be inbetween 0 and 1. Global simple which just applies a pixelwise transform first, then normalizes. And finally Durand tone mapping, which uses a lot of steps found on the spec page to make our image look nicer.
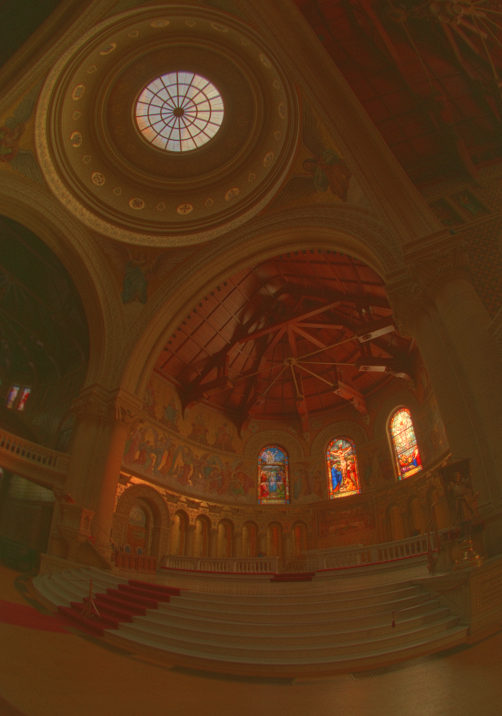
Below is the global scale and Durand tone mappings for each image.